I recently published a blog post on 4sysops.com about Web App for Containers on Azure here: https://4sysops.com/archives/web-app-for-containers-on-azure. That blog post is about the often-overlooked service in Azure that can be used to host a container/s on a web app in Azure App service.
This is a great service if you just need to run a single container or even a couple of containers that you have in Docker Compose. This service is PaaS and abstracts away an orchestration system like Kubernetes. If you need insight into the Azure App Service Web App for Containers service check out the blog post on 4sysops.
In this long blog post I am going to take things a step further and walk-through the build & release of a Container from Azure DevOps to Azure Web App for Containers. The overall goal of this post is to help someone else out if they want to setup a build and release pipeline for building and deploying a container to Azure App Service. We will use a very simple PHP web app I built that will run in the container.
Here are the components that are involved in this scenario:
- Azure Container Registry (ACR): We will use this to store our container image. We will be pushing up the container image and pull it back down from the registry as a part of the build and release process.
- Azure DevOps (ADO): This is the DevOps tooling we will use to build our container, push it up to ACR, pull it down into our release pipeline and then deploy to our Azure App Service.
- App Service Web App for Containers: This is the web server service on Azure that will be used to host our container. Under the hood this will be a container that is running Linux and Apache to host the PHP web app.
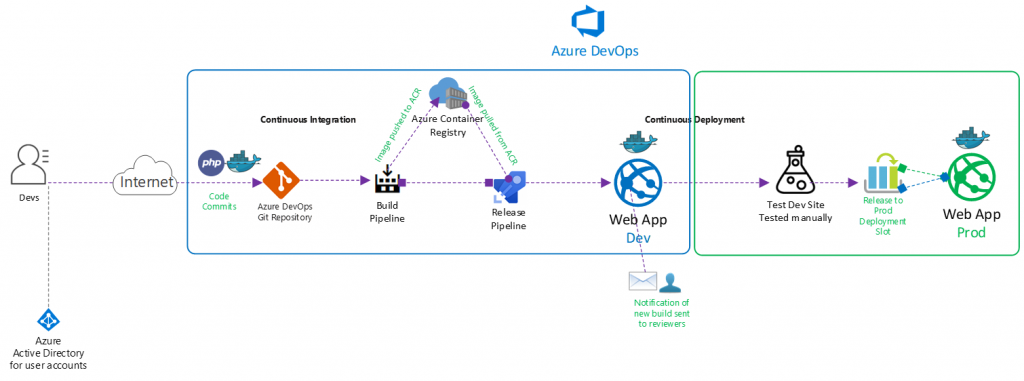
Here is the data Flow for our containerized web app:
- Deploy the Azure App Service Web App for Containers instance
- Deploy the Azure Container Registry
- Deploy the Azure DevOps organization and project, create repository to host the code, clone repository in VS Code (Not shown in this blog post. Assume you know how to this up.)
- Update the application code (PHP code and Docker image) in Visual Studio code
- Commit application code from Visual Studio code to the Azure DevOps repo (Not shown in this blog post. Assume you know how to this up.)
- Setup build and then run container build and push the container image to ACR
- Setup release pipeline and then kick off the release pipeline pulling down the container image from ACR and deploys the container to the App Service Web App for Containers instance.
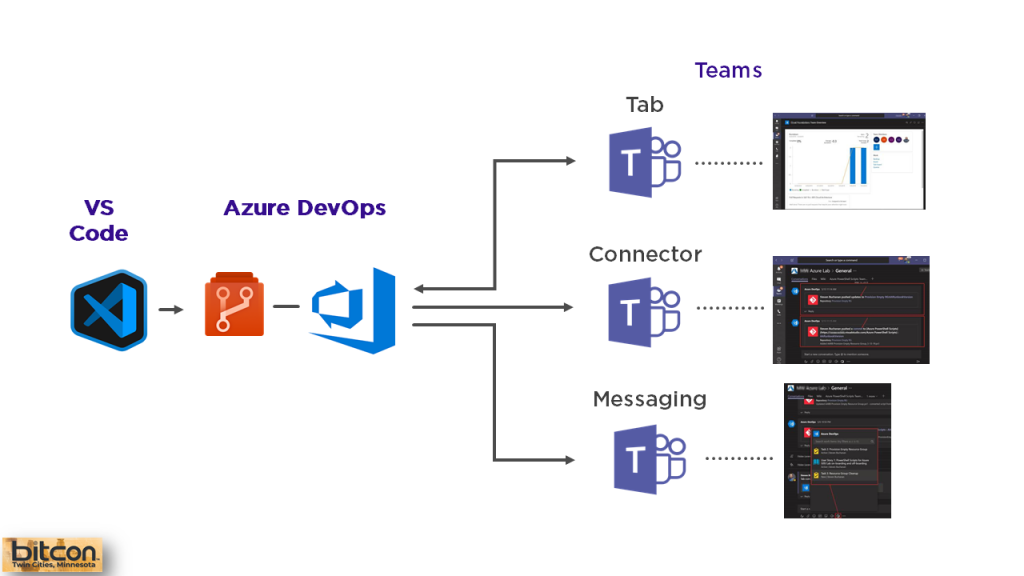
Here is a diagram detailing out the build and release process we will be using:
Note that all code used in this blog post is hosted on my GitHub here: https://github.com/Buchatech/EOTD-PHP-APP-DOCKER-CONTAINER
Ok. Let’s get into the setup of core components of the solution and the various parts of the build and release pipeline.
For starters this solution will need a project in Azure DevOps with a repo. Create a project in Azure DevOps and a repo based on Git. Name the repo exerciseoftheday. Next up let’s create the core framework we need in Azure.
Deploy Azure App Service Web App for Containers
Let’s create the Azure App Service Web App for Containers that will be needed. We will need a resource group, an app service plan and then we can setup the app service. The PHP app we will be running is named Exercise Of The Day (EOTD) for short so our resources will use EOTD. Use the following steps to set all of this up.
We will do everything via Azure Cloud Shell. Go to https://shell.azure.com/ or launch Cloud Shell within VS Code.
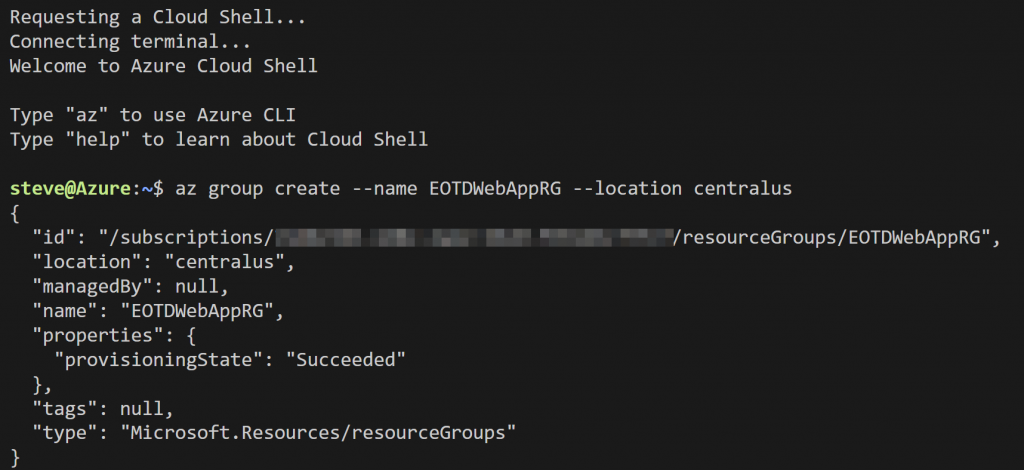
Run the following Syntax:
# Create a resource group
az group create –name EOTDWebAppRG –location centralus
# Create an Azure App Service plan
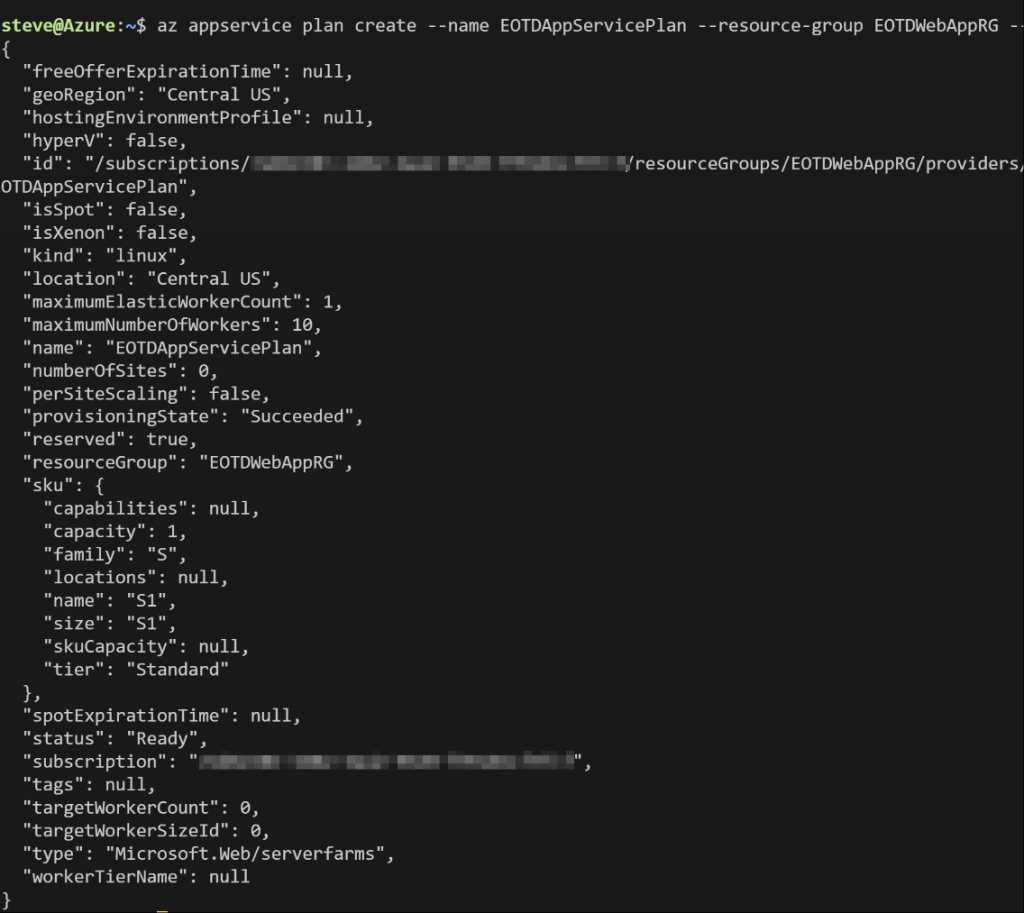
az appservice plan create –name EOTDAppServicePlan –resource-group EOTDWebAppRG –sku S1 –is-linux
# Create an Azure App Service Web App for Containers
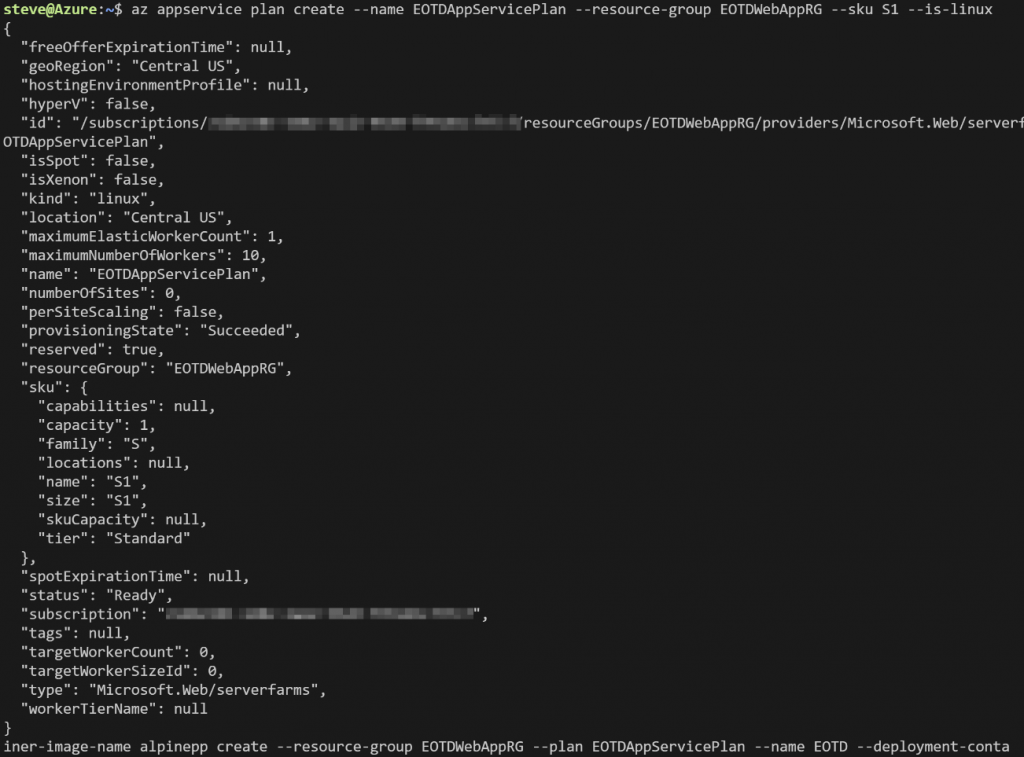
az webapp create –resource-group EOTDWebAppRG –plan EOTDAppServicePlan –name EOTD –deployment-container-image-name alpine
# Create a deployment slot for the Azure App Service Web App for Containers
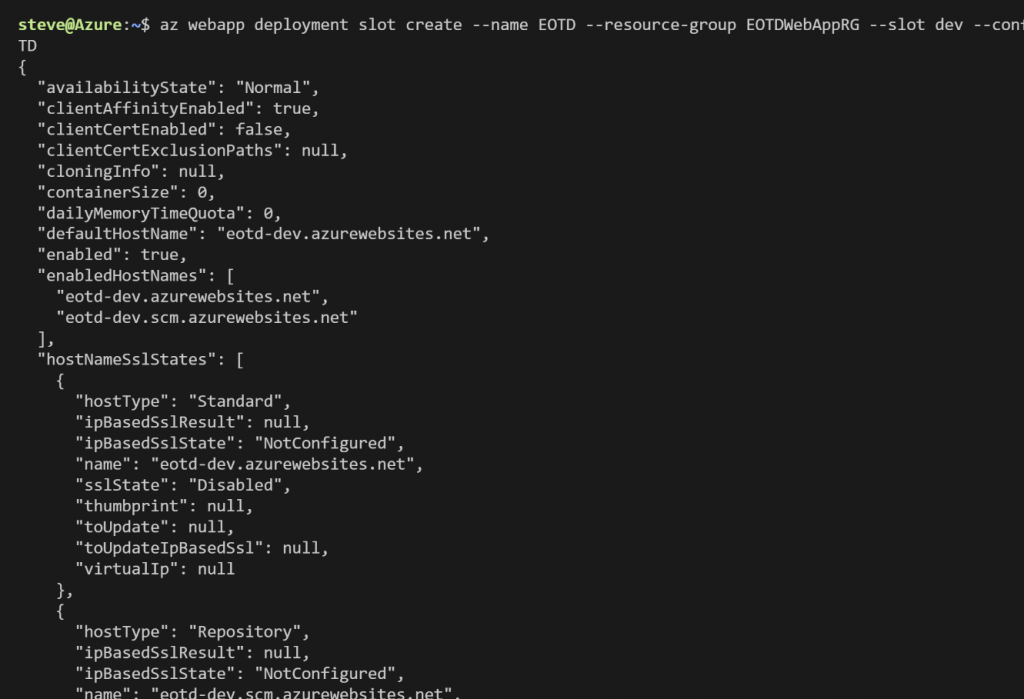
az webapp deployment slot create –name EOTD –resource-group EOTDWebAppRG –slot dev –configuration-source EOTD
Deploy Azure Container Registry
Now let’s create the Azure Container Registry. Again, this is where we will store the container image. Run the following Syntax:
# Create Azure Container Registry
az acr create –resource-group EOTDWebAppRG –name eotdacr –sku Basic –admin-enabled false –location centralus
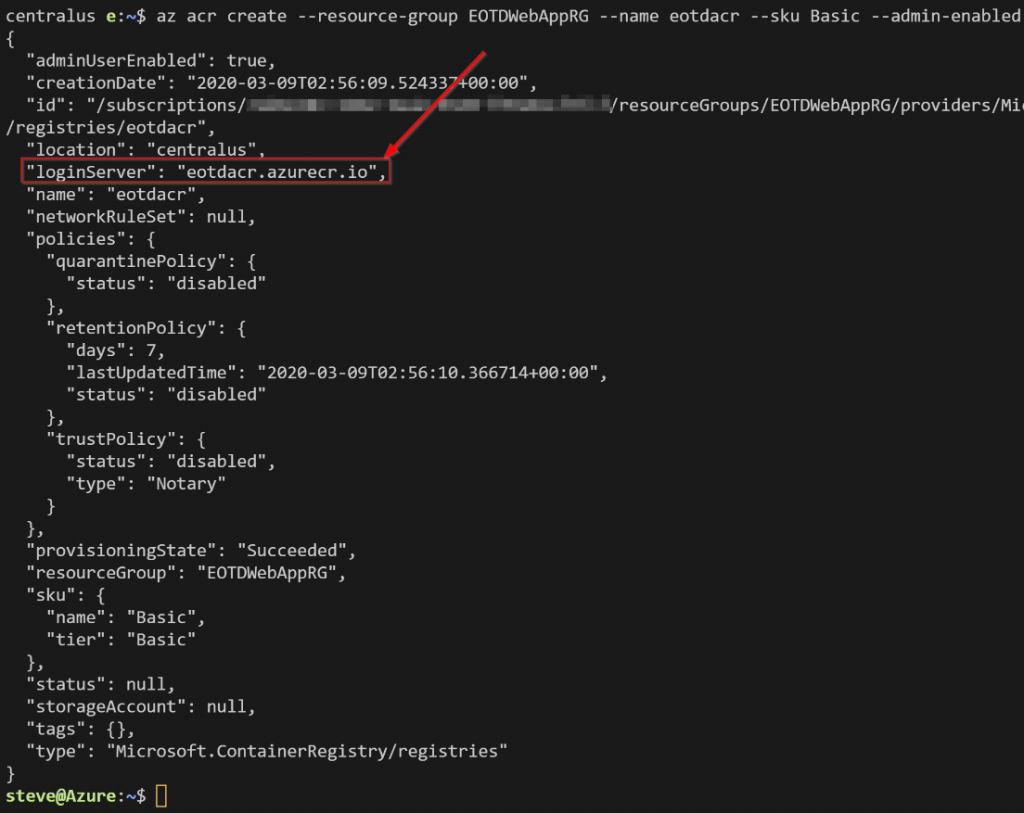
Note the loginServer from the output. This is the FQDN of the registry. Normally we would need this, admin enabled, and the password to log into the registry. In this scenario we won’t need admin enabled or the password because we will be adding a connection to Azure DevOps and the pipelines will handle pushing to and pulling the image from the registry.
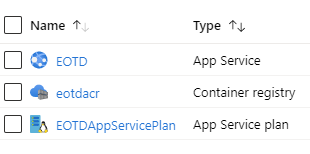
When it’s all done you should see the following resources in the new resource group:
Next, we will need to build an application and a container image.

