A while back there was a suggestion on Azure Operational Insights (Before renamed to Operations Management Suite) User Voice for an Android APP. You can see that here: http://feedback.azure.com/forums/267889-azure-operational-insights/suggestions/6686744-android-mobile-app . This would allow us to access our OMS data from our Android mobile device! It is no secret I am an Android user so I was excited for this. On the User Voice thread Microsoft commented that we could expect an app in the fall of 2015. Well on October 15th one of my colleagues Rob Plank tweeted that there the OMS Android app was available in the Android market (https://twitter.com/rob_plank/status/654706738222907392). They kept their word and now we have an Android App for OMS! In this post we are going to take a tour of the new OMS Android App.
On your phone you can search Google Play for Microsoft OMS or click this link Operations Management Suite to find the app. Go ahead and install it.
Once installed you will find it with your other apps.
You can also place a shortcut to it on one of your main screens.
The first time you launch it you will need to either sign in or sign up.
Here is a screenshot of the sign in screen.
After you are logged in you need to select your workspace. You can see that I have 3 workspaces. Yes only a true geek would have multiple workspaces in OMS. LOL
After selecting your workspace you will have a similar look and feel to the web based version of OMS. You will also notice 3 main areas Dashboard, Overview, and Search. The first one you will land on is Dashboard. To access the other 3 main areas just scroll to the right. NOTE: I did not see a way to add solutions to OMS from the mobile app. You will need to do this from the web application itself.
The Dashboard view is equal to My Dashboard in the full OMS web application. So whatever you added to your My Dashboard is what you will see here.
| Android OMS App | Full OMS Web Application |
 |
 |
 |
Now if we go the Overview area this is the same view as we have on the full OMS web application. Overview has the solutions that you have added to your OMS. To see them all just scroll down.
| Android OMS App | Full OMS Web Application |
 |
 |
You will notice the Searches view also matches what is in “Log Search” in the full OMS web application.
| Android OMS App | Full OMS Web Application |
 |
 |
So if you expand one of the search areas you will see saved searches. You can click on one of them to run the search query.
You will then pop over to the results of the query.
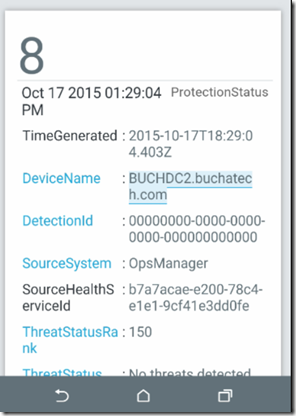
If you clicked on one of the query results you will drill down into more details and it will look like this.
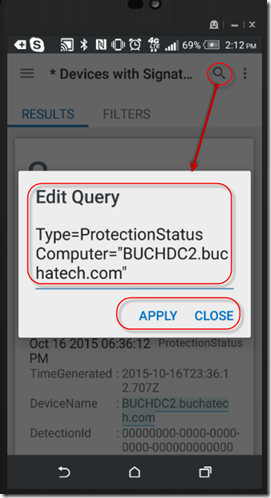
You may have also noticed a magnifying glass icon in the upper right hand corner. If you click on that the search query will be exposed and you can edit this if you want.
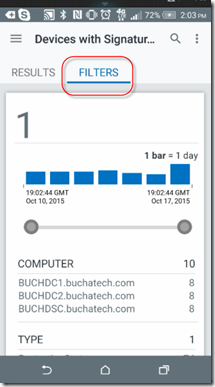
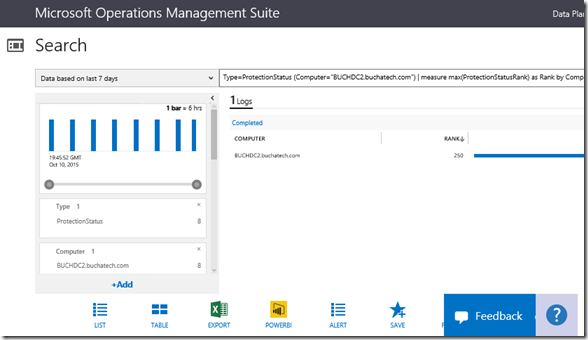
Also after running a search query you can click on Filters to further tweak the results down to what you are looking for. This is just like using filters in the full OMS web application.
| Android OMS App | Full OMS Web Application |
 |
 |
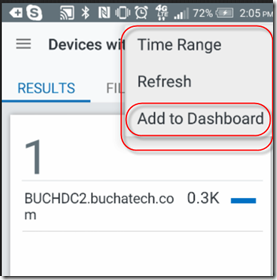
You will also notice when after running a search query that you can add the results to your Dashboard. To do this click on:
and the following will pop up.
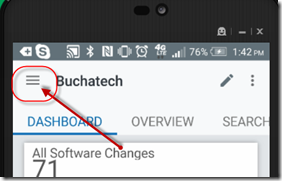
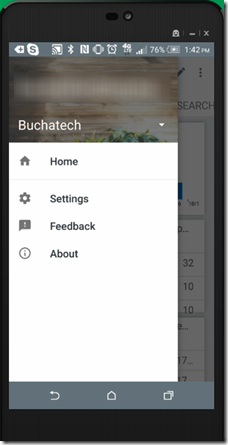
Ok. Now let’s head back to the main screen and explore some more. You can access the Android OMS App settings by clicking on the following.
You will be brought to this menu.
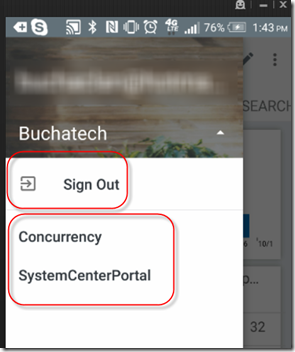
If you click on the arrow next to your workspace name you will see the following fly out menu. Here you can sign out or change workspaces. Just click the arrow next to your workspace name to make this menu go away.
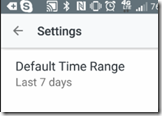
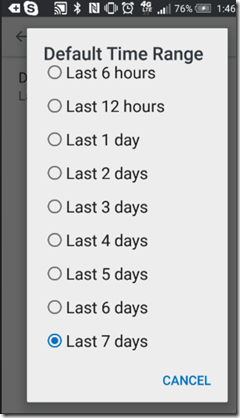
If you click on settings you can change the Default Time Range.
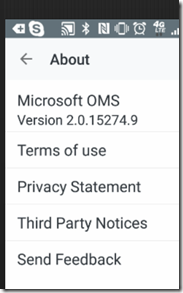
Clicking on feedback brings you to a Microsoft website. Clicking on About gives you the OMS version number and other information as shown in the screenshot.
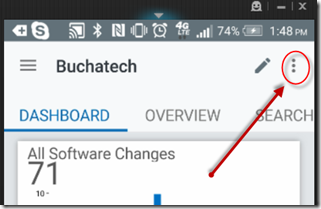
Ok. Now back on the main screen again let’s explore some more. Click on the ellipsis icon.
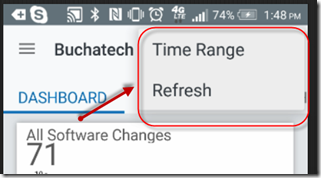
You will see that you can access the Time Range or run a Refresh of the current view.
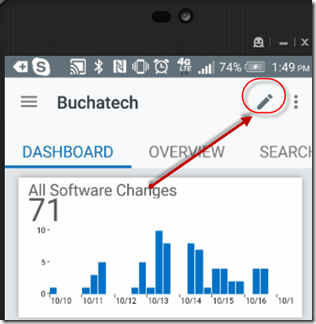
Notice the Pencil icon just to the left of the ellipsis icon.
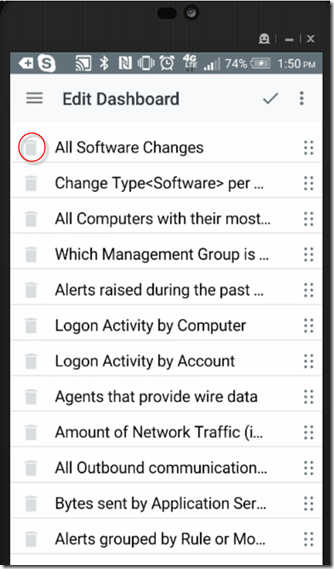
By clicking on the pencil icon you will be able to edit the dashboard. You can delete widgets by clicking on the trash can icon next to them.
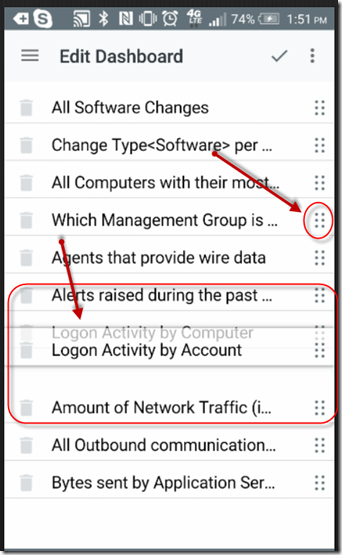
You can also move the widgets around by selecting the double ellipsis icon to the right of them and moving them up or down.
Well that concludes my tour of the new OMS Android App. I suggest you go out and try it out on your own now. Have fun!


